Thursday, December 31, 2020

Cross Stitched Pillow Quotes

I finally stopped procrastinating and finished off three mini pillows, all works in progress from oh about at least 3 months ago!  I cross stitched these three patterns back in April/May, started the makings of pillows sometime in the summer and then nothing.  I got as far as forming the pillow for stuffing but then didn't have the desire to complete the project.  Well, I didn't want these UFOs to linger into the new year and motivated myself to finish them last night!  I put on flosstube, pulled out the fiberfill, needle and thread, and got busy!  

These cross stitch patterns are freebies offered for the "bewellandstitch" movement started earlier this year.  Numerous designers created some wonderful patterns to contribute to this cause and even though I'd love to stitch them all, I had to be realistic and narrowed down my selection to these three:


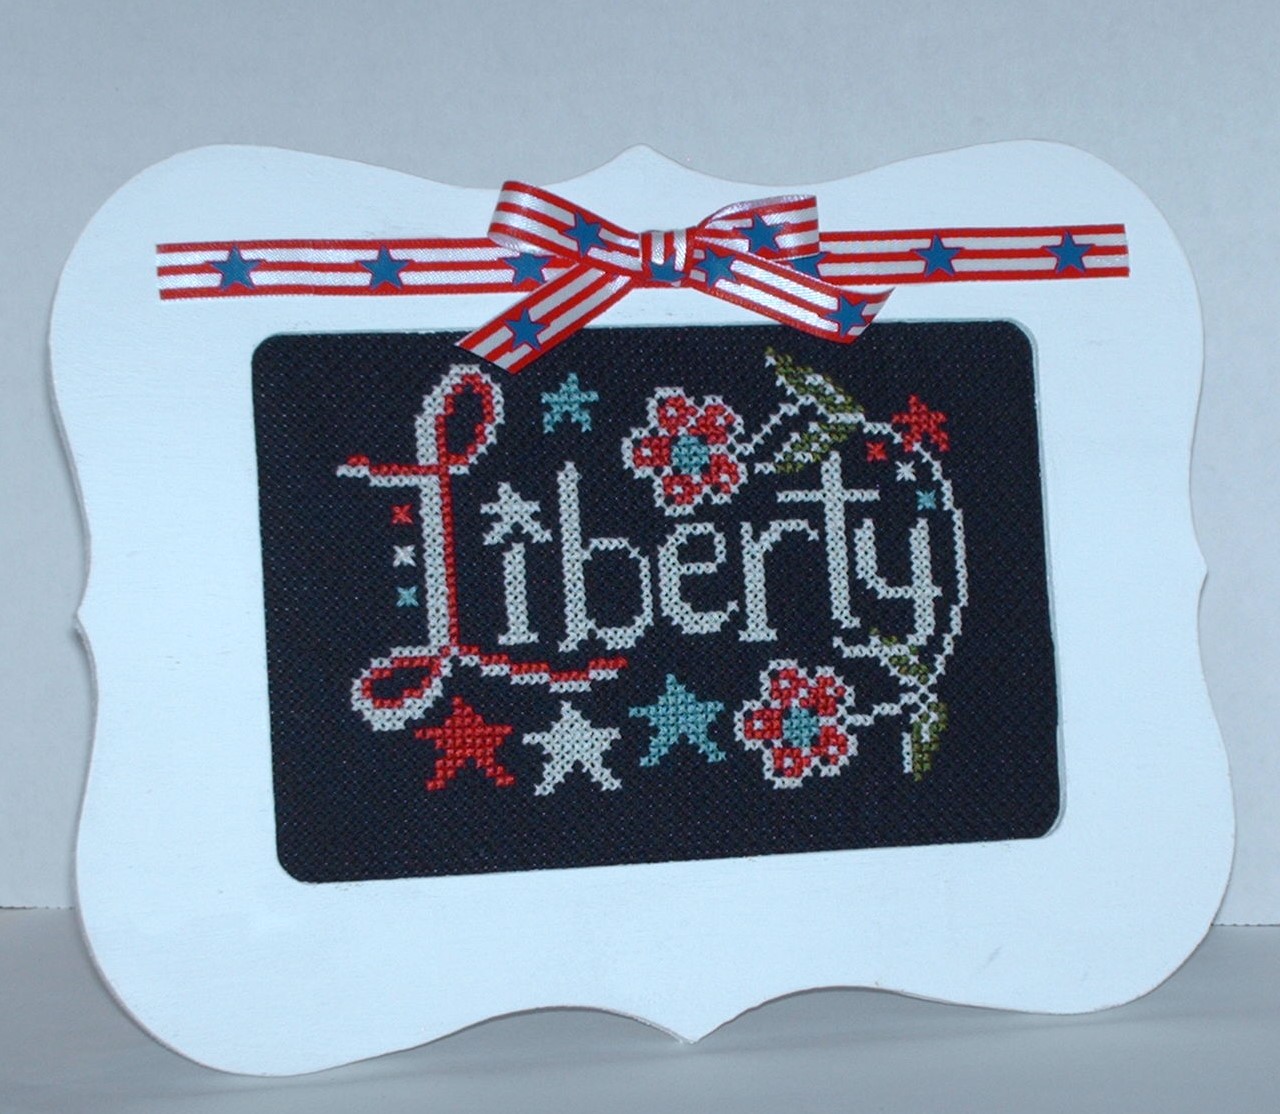
Here are the details:

Fabric:  14 ct. white Aida
Floss: Sulky cotton petite threads (1 strand used) - purple #712-1122, yellow #712-1124, blue #712-1198; Sullivans 45193 (wings), Sullivans 45094 (flower center), DMC 310
Fabric, ribbon and lace trim from stash - (The yellow fabric was also used for the pillow backing.)
Pillow size: 7 1/4" x 5 3/4"


Fabric:  18 ct. white Aida
Floss:  DMC 726 (outer petal), DMC 742 (inner petal), DMC 3364 (flower stem & grass), DMC 921 (words)
Fabric from stash (The orange fabric was also used for the pillow backing.)
Pillow size:  8 3/4" x 4 3/4"


Be well - Pattern by mylifewithmisssassy (pattern on Instagram)
Fabric:  14 ct. white Aida
Floss:  DMC 744 (left and right tulip), DMC 321 (hearts), DMC 742 (center tulip), DMC 839 (vase), DMC 3364 (leaves and stems)
Fabric and ribbon from stash (The brown fabric was also used for the pillow backing.)
Pillow size:  7 3/4 x 4 1/4"


It's such a relief to get these finished and I'm pleased with how they turned out!  Happy stitching and sewing!


Friday, December 11, 2020

Give Thanks

Thanksgiving may be over but there is always a reason to Give Thanks!  I finally fully finished the Lizzie Kate cross stitch piece in which, oh my goodness, I stitched last year!  Well, I just couldn't figure out the finishing last month but here it is:

It's a little fabric piece cut to approximately a 9" x 9" square that could be a wall hanging or other type of display.  The fabric is a fat quarter I purchased from Walmart a year or two ago and I knew when I saw it that I wanted to use it for some type of Thanksgiving decor.  I cut an opening to fit the design and sewed it down.  I then cut a piece of brown fabric for the backing and sewed the two pieces with right sides together and flipped them out.  To highlight the stitched design, I used fabric fusion to glue down strips of brown bias binding which also covers up the stitches from sewing the Aida cloth to the fabric.  For the final finishing touches, I glued on a ribbon bow as well as some leaves and a flower from my craft stash.

Wednesday, October 7, 2020

Welcome to Our Haunted Home

It's October which means Halloween will soon be here!  I stitched the Welcome to Our Haunted Home design found in the Just CrossStitch 2019 Special Collector's Issue for Halloween and finished it as a home decor piece.  It's a design by Linda Medina of Medina Originals.  I started it in 2019 and finished it this past January.  The only change I made to the design was omitting the stitches around the words Welcome and Home; I just wanted the focus on Haunted.  There were minimal floss colors


needed for the design; DMC 310 and 721, and Kreinik 152V.  The word Haunted was to be a blend of the Kreinik and DMC 721 but I used what I had in my stash and stitched it only in 721 and that was fine for me.  My choice of fabric was a 100% 14 ct. natural Aida by Charles Craft Gold Standard.  I loved stitching on it and the color is great too!  I had seen the black wreath at Michaels last year and the finishing idea popped up in my head!  When I went back to check for Halloween clearance they were sold out however, I did purchase a pick with the 3 skeleton hands.  So a few months ago I was happy to find the wreath was back in stock so I could create this Halloween finish!  The orange and green berries and the skeleton head I purchased from A.C. Moore during their closing sale last year.  I used a 12" round cake board (Lori from Once Upon a Stitch had mentioned this in one of her videos as an idea to use as a base for a circular finish!) from my cake decorating stash for the circular base, adhered two layers of batting on top for padding and then hot glued the stitched piece, corners only (the stitched piece is a square), onto the covered board.  I then used wire to wrap around the piece and weave it through the wreath to hold.  Instead of using glue, I also attached all the other embellishments with wire to complete the finish!  I have it hanging on the inside of my front door so I can enjoy it! (I got that hanging idea from a Helen D. home tour video!)


Saturday, July 18, 2020

Liberty Chalk Full - small

Well, July is more than half over and my latest cross stitch FFO is the small design from the Hands on Design Liberty Chalk Full pattern.  It was a quick project and I was also determined; I stitched it and fully finished it all this month!  I knew I was most likely not going to finish the larger design before the month was over so I focused on the small.


My stitching materials and supplies used:

14 ct. black Aida cloth
Floss substitutions
DMC 347 for CC Licorice Red
Sullivans 45279 (DMC equivalent is 937) for CC Steamed Broccoli
Sullivans 45133 (DMC equivalent is 597) for CC Really Teally
Sullivans 45463 (DMC equivalent is 3865) for GAST Chalk

For the finishing, I purchased an Art Minds wooden frame from Michaels which has a 4x6 opening and was the perfect fit for the piece.  I coated the frame with two layers of white acrylic paint which I think showcases the design and makes the colors pop.  Next, I cut a piece of chipboard the size of the opening using the frame label as a template, and added a piece of batting on top of it.  I then layered the stitched piece on top of the batting and wrapped and glued down (with hot glue gun) the two short edges to the back of the chipboard.  I didn't have much fabric at the top of the piece to wrap so I left the two long sides unglued.  Once pressed into the frame, it was a good snug fit and enough fabric that I think the lip of the frame helped to keep it in place.  And finally, I wanted to add a little embellishment and I found some stars and stripes ribbon in my stash.  I cut a length of ribbon and adhered to the frame with some liquid glue, I tied another piece into a bow and hot glued it to the center.  A clean and simple finish!

Happy stitching!


Knit dishcloths and coaster

Hello there! Today I wanted to share a few knit projects that I've completed over the past few months.  I like to make dishcloths which I use daily for the dishwashing, and if you're new to the craft, dishcloths are great projects to practice your skills and learn new stitches.  I also knit up a mini item, a coaster.  I've stitched the coaster before and used it at work for my drinks which is cuter than a paper towel to catch that condensation!  And, for that instant gratification of completing something quick and crafty, I also put some scrap yarn to use.  And that's another good thing about small projects; it's a great way to use up some leftover yarn!  For all three projects, I used Lily Sugar'n Cream, a 100% cotton yarn.  For the photo shoot, I used an Azure Home frame that I got from A.C. Moore during their closing sale.  I was having a hard time capturing a good picture with the pieces laid flat and decided to try the frame; I was pleased to get a few decent pictures to post.  

This is the coaster.  It measures approximately 4"x4" and is a basketweave pattern.  The yarn color is named just as it looks, Yellow!  The coaster pattern can be found on the Simple Knits blog here.


Next is the Sailor's Rib Stitch Washcloth but I'll be using it as a dishcloth.  It was designed by Sara Louise Greer and is a free pattern from Red Heart.  The Red Heart patterns are now on the Yarnspirations website.  The pattern calls for a different yarn but I'm trying to use up my stash and used what I had on hand.

It measures 6 1/4" x 8 1/4", a little different than the pattern but I used size 7 US needles.  Also, for this project I didn't worry about gauge.  I should block it to smooth out the edges but I don't think the dishes will notice, LOL!  And considering I've never done the blocking technique, I'll wait for a larger more special item!  The yarn color is Hot Purple.


Finally, this is the basketweave dishcloth and it measures about 6" x 6".  I also used size 7 US needles to knit it.  Unfortunately, I don't know where I got the pattern but it uses a cast on of 28 stitches and starts with K4, P4 with an eight row pattern repeat.  Try searching for a free pattern online and there will be tons options!  The yarn color is Hot Blue.


Happy knitting!


Tuesday, May 26, 2020

Bless Our Home - cross stitch

My first fully finished cross stitch project this year is Bless Our Home!  It's a Lizzie Kate Snippet pattern #S47.  I started it on January 1 and finished it on March 22.  I'm primarily a monogamous stitcher and hearing other stitchers talk about working on multiple projects, I wanted to give my try at a rotation of four projects.  I was inspired by Priscilla and Chelsea and made my own schedule of designated days for four projects.  The days were:  Mirabilia Monday, Wordplay Wednesday (for Lizzie Kate's Bless Our Home), Floral Friday and Scary Saturday.  Well I gave it a try and had a slight feeling that it would be a bit of a struggle (there were days that I only wanted to stitch on what I was in the mood to handle, LOL) but I made myself stick with it until the end of March!  One plus was that I was able to finish the Halloween project for Scary Saturday (I had started it last year) and I have a finishing idea for it but will have to wait until Michaels put out the Halloween decor items later this year.  Anyway, back to the featured project.  Here are the details.

Fabric:  14 ct. off-white aida
Floss:  I didn't have all the called for colors/brands so I used all DMC as follows -
3820 (house), 3823 (windows), 221 (border, tree berries and heart), 3790 (tree), 3052 (light green grass), 520 (leaves and dark green grass) and 3781 (roof, words/sentiment and door)

Embellishment:  The pattern shows a charm hanging from the tree but I didn't bother to try and find/order it but I could always add one later.

Finishing:  5x7 frame (purchased at Target - Room Essentials photo frame Bevel Wedge Natural) {Note: I removed the glass from the frame}.  I added a piece of batting and chipboard to the back of stitched piece and laced it up (yes, it's a little crooked and those corners - well yes, I will do better next time, LOL!).  I made a background panel with brown fabric and adhered it to a piece of chipboard with Elmer's Craft Bond multi-purpose spray adhesive and inserted into frame.  I then used a hot glue gun to adhere the finished piece to the background.  Happy Stitching!